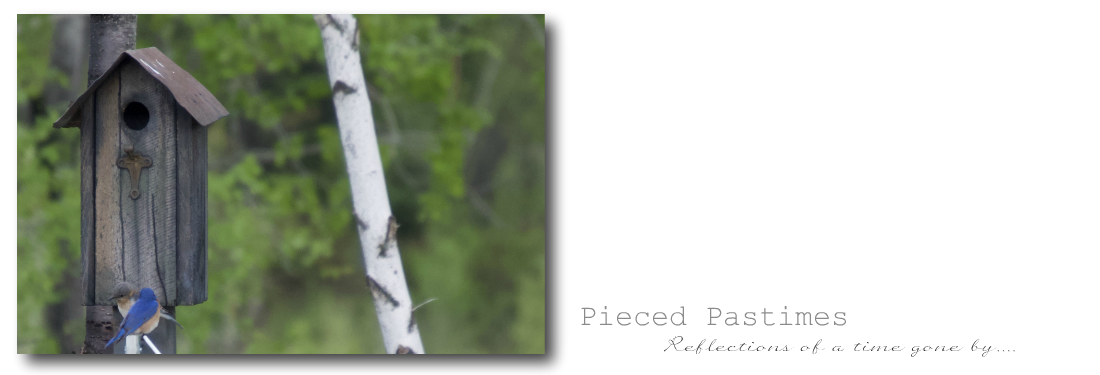
Sunday, May 19, 2013

Pleated Dropcloth Pillow Tutorial

Pillows are such a simple way to refresh a room. I am replacing all our throw pillows with feather inserts so, it gave me the perfect excuse to create some new pillows.
For this pillow, I combined Dropcloth fabric with a pretty Blue and White Floral fabric.
A pleated accent and an inviting message in french make up this new design.

Supply List:
- 14 x 24 Pillow Form
- Iron-On Transfer Sheets
- *approx 1/8 yard Decorator Fabric - for the Pleat
- *approx 1 1/2 yards Main Fabric - I used 'Dropcloth' fabric for my pillow.

*Pre-wash and dry all fabrics to set the dyes and pre-shrink.

Cutting Instructions:
From the Main Fabric -
- Cut one 6" x 15" panel for the Pillow Front
- Cut one 15" x 20" panel for the Pillow Front
- Cut two 10 1/2" x 25" panels for the Pillow Back
From the Decorator Fabric -
- Cut one 4" x 44" strip for the Pleat

Pillow Construction:
Start with the pillow front:
Use your favorite iron-on transfer sheets. I like Lesley Riley's TAP brand. The final transferred image is soft with a matte finish (not stiff and shiny like some others).
Use a press cloth while ironing on the transfer. A Teflon Pressing Sheet is my preferred choice for Iron-On Transfers.
Choose your message and font. I chose the word 'Bienvenu' (the french word for 'Welcome') in a pretty scrolled font called 'Mutlu Ornamental' that I found on the Dafont site. Print text as a mirror image onto your transfer sheet. Center the transfer horizontally on the larger pillow front panel and closer to the pleated side vertically - this measurement depends on the size of your transfer.
My transfer measured 14 3/4" across, so I placed the image approx 1" from the pleated edge. Also,  I needed to print the transfer on two separate sheets because of the larger size.

Next up is the pleat:
There are many different types of pleats. I used a 'Knife Pleat' for this pillow. Begin by pressing your 4" x 44" strip in half the long way as shown.
Make a simple pressing guide by cutting a piece of cardstock 1 1/2" wide. Use this as a guide to fold over and press your pleat as shown by folding fabric 3" from last fold and press and repeat for the length of the strip.
Your final pressed pleat should measure approx 17" long.
Place scotch tape along the folded edge of your pressed pleat to temporarily hold together. Baste raw edges together using a 1/4" seam allowance. Remove scotch tape and trim pleat to 15" length.
Pin basted pleat (raw edges together) to right side of larger pillow front and stitch using a 1/4" seam allowance.
Pin the smaller pillow front to the larger pillow front with attached pleat, right sides together and stitch using a 1/2" seam allowance.
Press to set seam. Open and press the smaller pillow front with pleat to one side, using a press cloth to protect the transfer.
Topstitch 3/8" from the folded edge as shown.
The pillow top is now completed.

Now, onto the pillow back:
Hem the two pillow back panels. Using a 3/8" Bias Press Bar, fold the fabric over the bar and press. If you don't have Press Bars, you can make your own by cutting a strip of card stock (or a manilla file folder) 3/8" wide x approx 11". Fold the pressed fabric back over on itself and press again. Stitch the hem using a 3/8" seam allowance and press to set the seam.
Place a back pillow panel over the top half of the pillow front with right sides together. Place the other back pillow panel over the first panel as shown and pin. The finished hem edges should overlap to create an envelope style back. Stitch the pillow back to the pillow front using a 1/2" seam allowance. Stitch a zigzag stitch to the inner seam to prevent fraying.
Turn Pillow Cover right side out and place pillow form inside. The envelope style back makes it so easy to remove and replace the pillow cover.
The newly completed pillow awaits the arrival of some others that I am working on and will post about soon.
It's the little things that make me happy.  Changing out my pillows always brings a smile to my face.
I hope this post inspires you to create some new pillows for your home.

PS - Have you linked up to Saturday Sparks yet? The party is open till Friday. Hope to see you there.

Linking up to the following parties:


Print Friendly and PDF

Saturday, May 18, 2013

Saturday Sparks Link Party 12

Welcome to Saturday Sparks 12!
A place to share your latest creations and find inspiration from the talent of others.
A few of my favorites from Saturday Sparks 11 included:
This Vintage Lace Wreath from Something Created Everyday. Lynda created this gorgeous wreath using thrifted jewelry, vintage doilies and lace.
A Chalkboard Wall from A Thrifted Market. This fabulous chalkboard wall was inspired by Pinterest. I love the plates and the framed wreath - such a great way to create an accent wall.
This Going Gray post from Knick of Time. Angie has found herself loving the color gray lately. With a quick coat of paint, she transformed a wooden bucket into this lovely piece.
This Disguising the Uglies post from Calypso in the Country. Shelley came up with a cute and clever way to hide the hoses and wires behind the washer and dryer.
  
This DIY Monogrammed Succulent Planter from Things Made New. Kirstin shares a wonderful tutorial on how to recreate this lovely succulent planter.
This Dining Room Tour from A Little of This, A Little of That. Sarah takes us on a tour of her beautiful dining room and shows us all the amazing details.
Thanks to everyone for linking up to last weeks party.
If you were featured, please grab the featured button to add to your blog.

Now, onto the party!

Link up your latest inspiring posts including:
Home Decor
Crafts
Sewing
Gardening
Recipes
DIY
Repurposing

I will post features next week to Pieced Pastimes, Facebook and Pinterest.

I can't wait to see what you have been working on!
Party Guidelines:
- Post the party button (above) with a link back to the party on your post.
- Share your own projects - something that is made by you.
- Follow Pieced Pastimes via one of the social media links at the top of the sidebar.
- No advertising, Etsy shops or giveaways.
- Pin feature photos to Pinterest from the original source and not from this blog.
- Visit other links and leave a kind comment.

Print Friendly and PDF

Saturday, May 11, 2013

Saturday Sparks Link Party 11

Welcome to Saturday Sparks 11!
A place to share your latest creations and find inspiration from the talent of others.
Go here to see the viewer favorites from last weeks party.
A few of my favorites included:
These DIY Decorative Flip Flops from VMG206. Megin shows us how to create these fun summer sandals. 
This Zipper Path from The Wilderness Wife. Sheryl takes us along her journey to recreate this Home Depot inspired pathway.
This Sewing Table to Repurposed Desk from Namely Original. Adriana refinished this little sewing table into a sweet desk. Be sure to visit her post to see the fun surprise she added.
This Pretty Lilacs post from Rosemary and Thyme. I couldn't resist this post from Janet as her lovely vignette captures my favorite flower in all its glory.
This Very Berry Spinach Salad recipe from Ashely's Dandelion Wishes. Ashely shares her Aunts recipe that looks perfect for a summer day.
Thanks to everyone for linking up to last weeks party.
If you were featured, please grab the featured button to add to your blog.

Now, onto the party!

Link up your latest inspiring posts including:
Home Decor
Crafts
Sewing
Gardening
Recipes
DIY
Repurposing

I will post features next week to Pieced Pastimes, Facebook and Pinterest.

I can't wait to see what you have been working on!
Party Guidelines:
- Post the party button (above) with a link back to the party on your post.
- Share your own projects - something that is made by you.
- Follow Pieced Pastimes via one of the social media links at the top of the sidebar.
- No advertising, Etsy shops or giveaways.
- Pin feature photos to Pinterest from the original source and not from this blog.
- Visit other links and leave a kind comment.


Print Friendly and PDF
Related Posts Plugin for WordPress, Blogger...
^ Scroll to Top